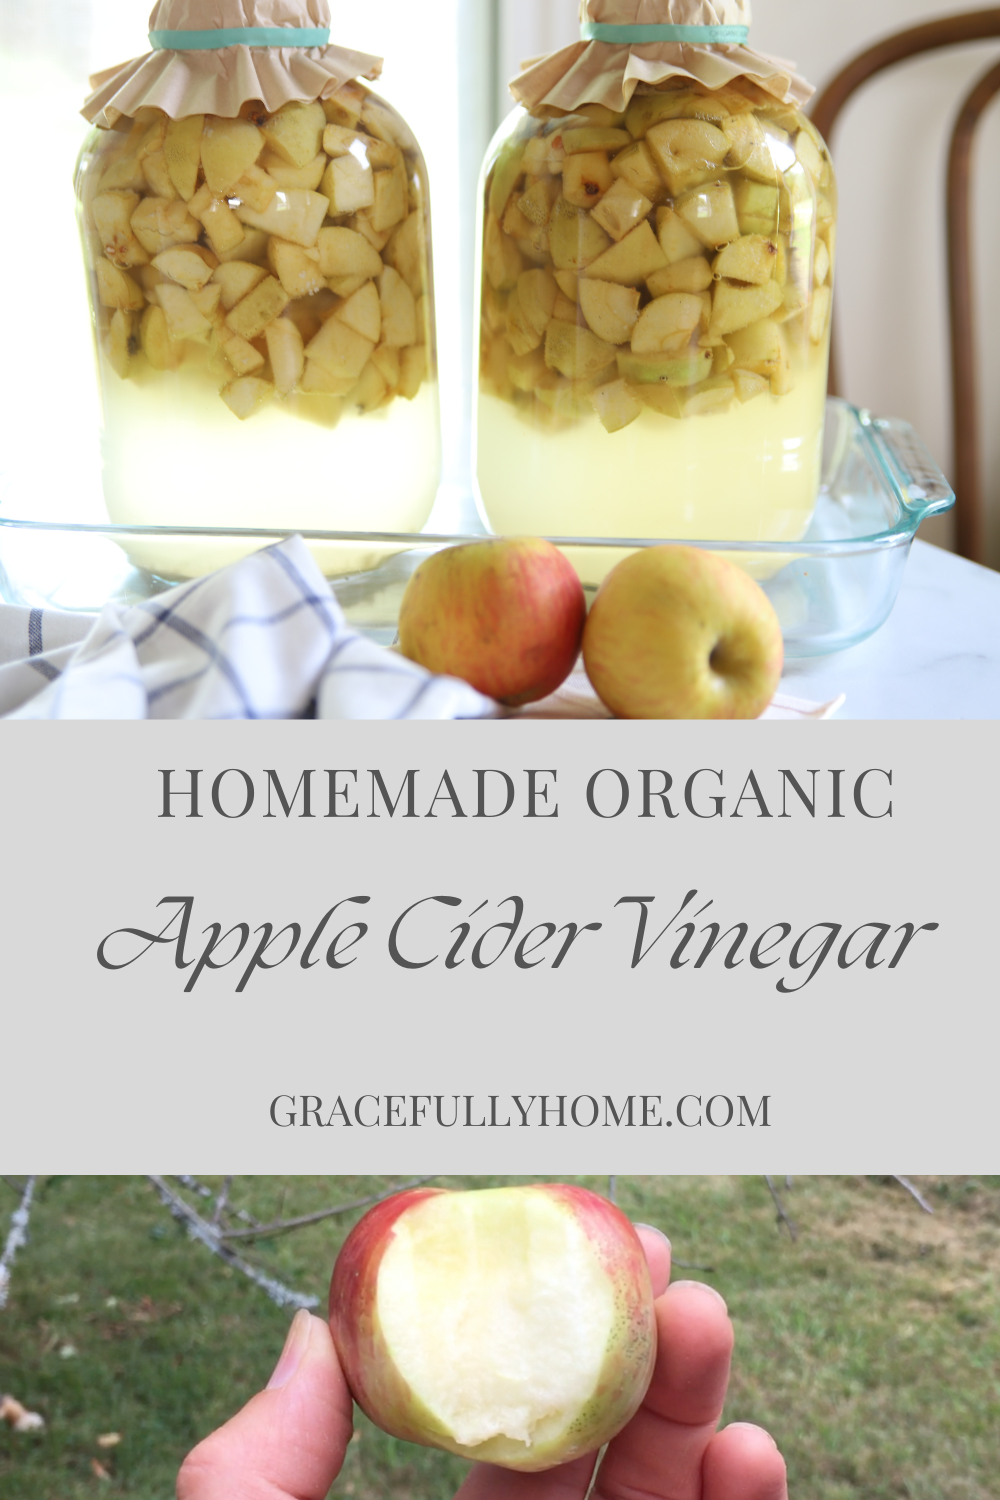
How to Make Homemade Apple Cider Vinegar
It is apple picking season here in the hollow! Summer is the best time to enjoy fresh homegrown snacks right off the tree and in the garden. With all the homegrown abundance on the farm, we need to help preserve some of it to enjoy all year round. Come join us and learn how to make homemade apple cider vinegar.
Harvesting apples is typically a time we look forward to when fall rolls around each year, but because summer came early this year in Middle Tennessee and the temperatures have been warmer than usual, our homegrown organic apples seem to have ripened a lot sooner.
You won’t hear us complaining! This year, especially has produced the sweetest and most delicious harvest of apples our little farm has seen yet.
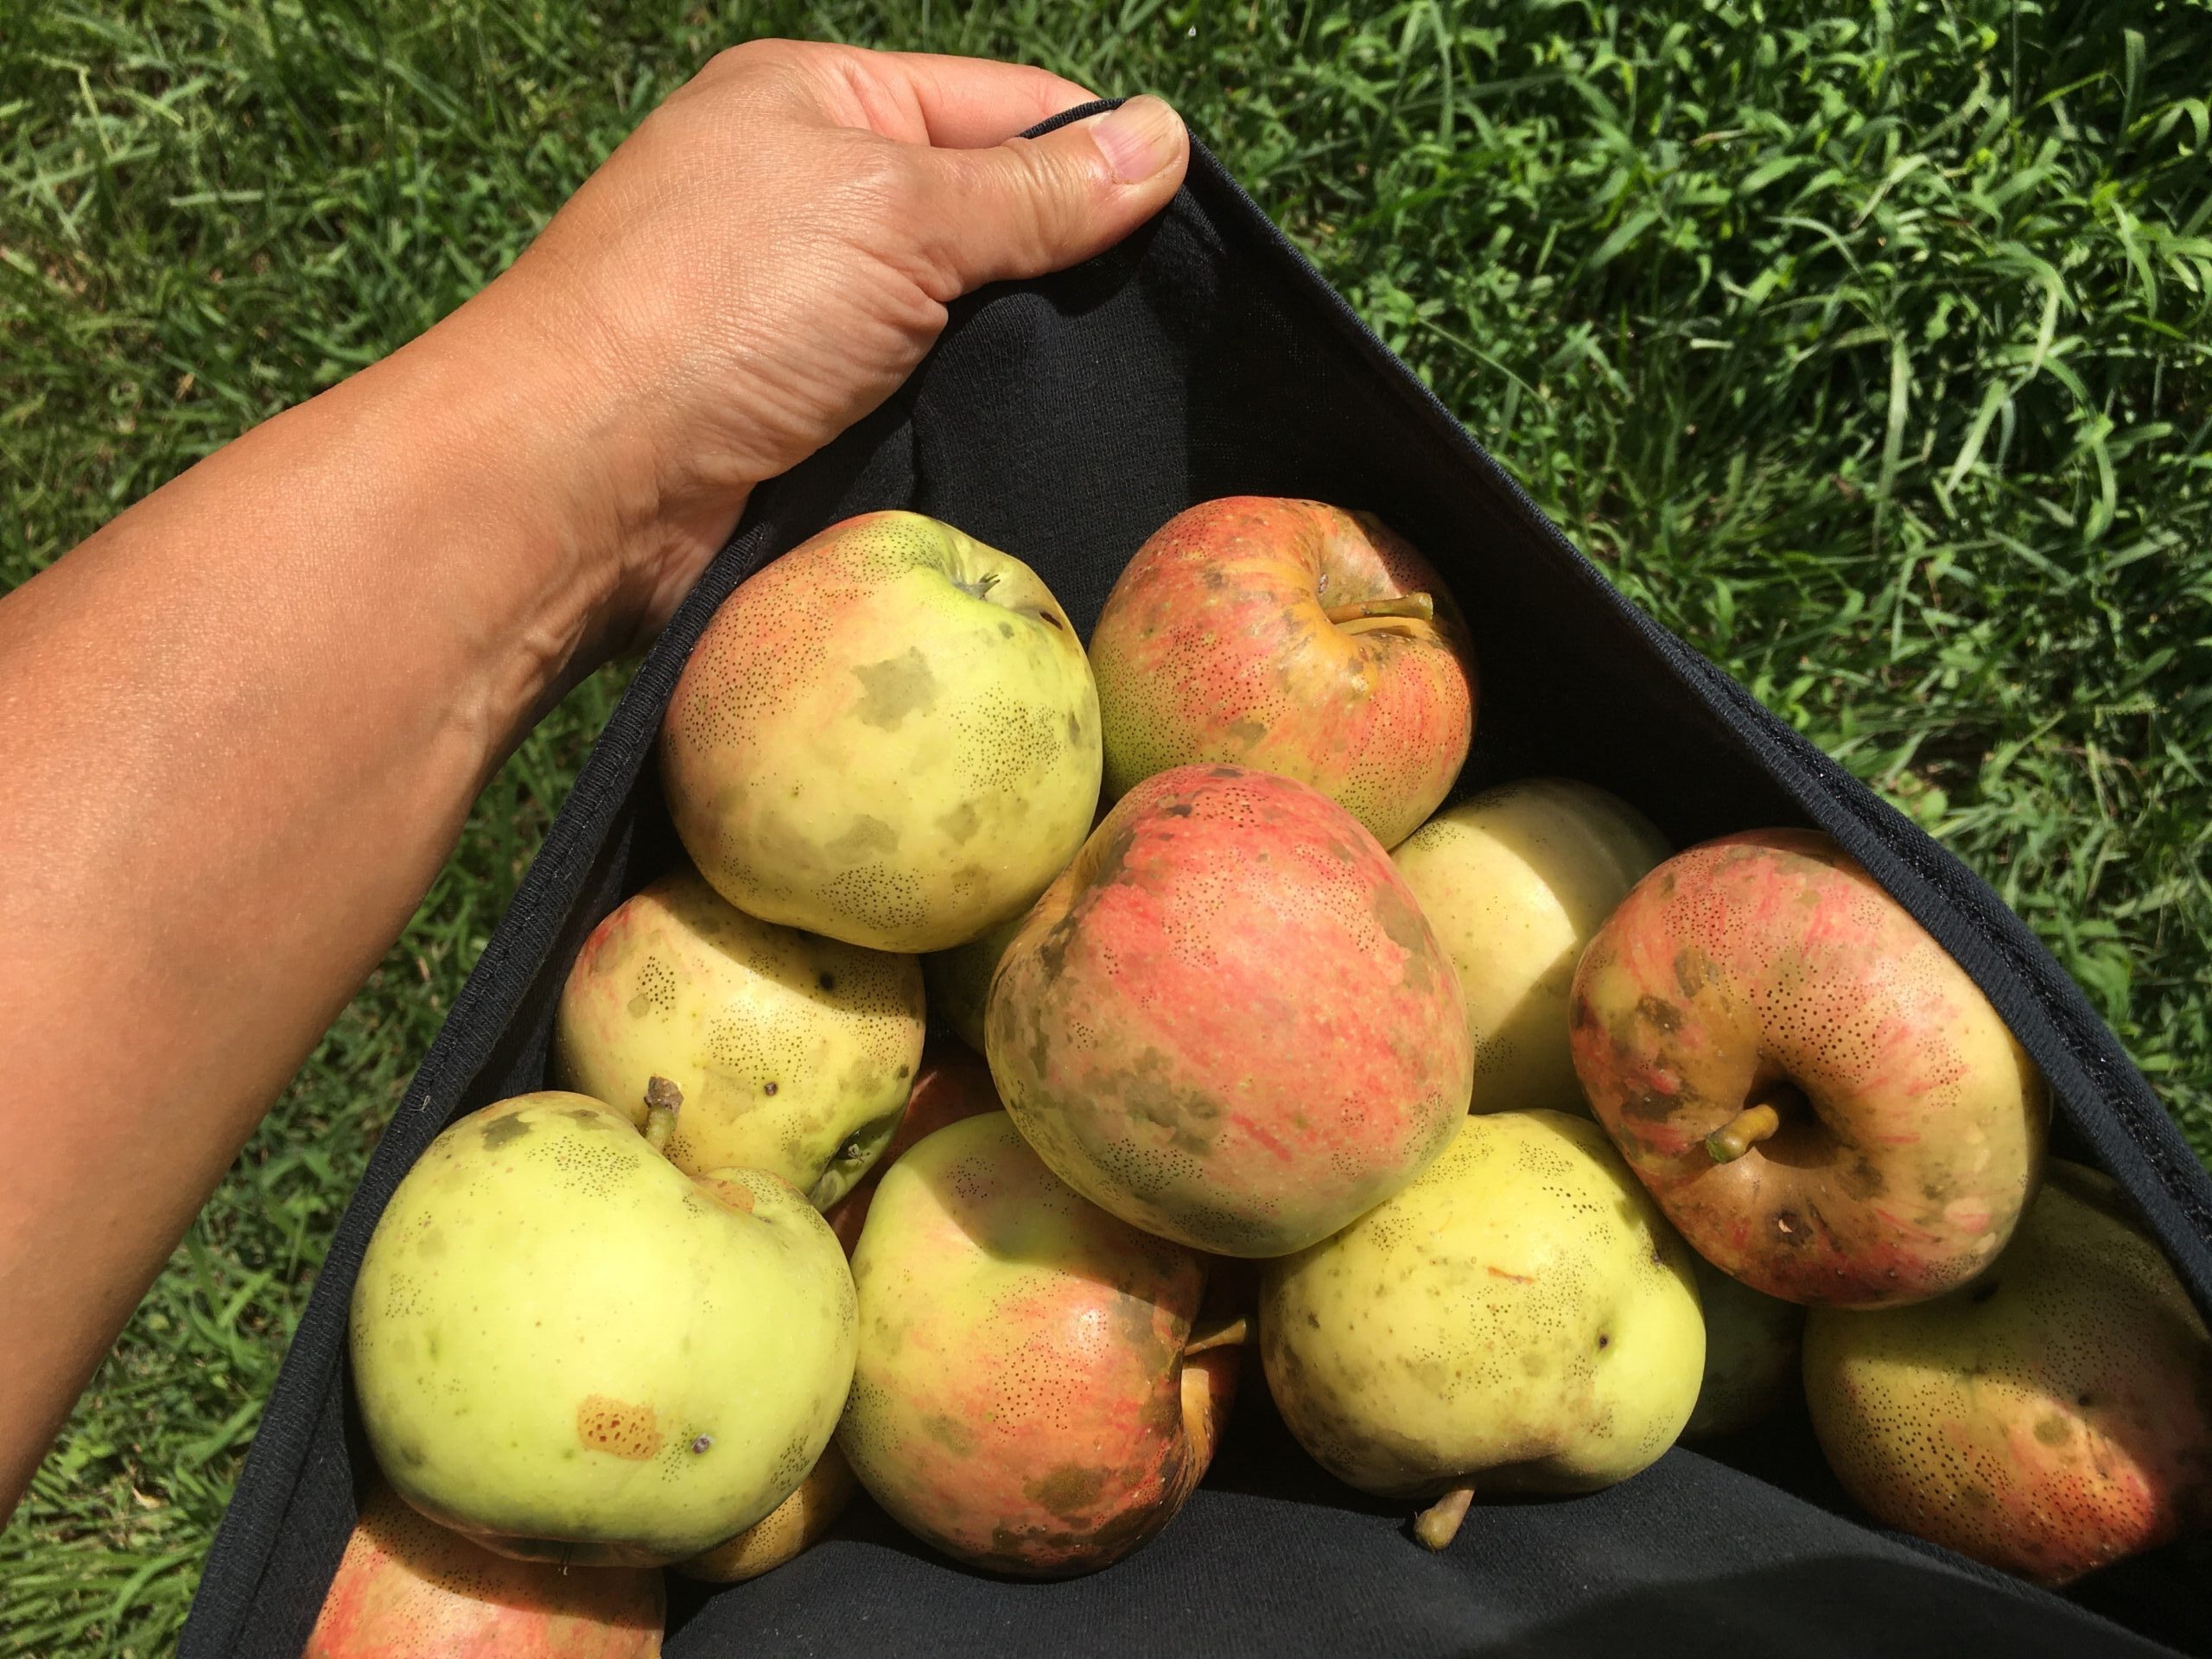
We love eating our apples fresh off the tree, but we also love taking our bushels of apples and making simple and delicious recipes to enjoy throughout the summer and all year long!
PRESERVING THE HARVEST
With the abundance of apples on the farm, we have to use different preservation methods to help prevent any unnecessary waste, or conceding to the flock of black crows’ persistent appetites.
As a result, we go “back to basics” and use methods like these to help preserve our apple harvest.
PIN IT FOR LATER:
WHY FERMENTED FOODS?
We’ve all heard the old saying, “An apple a day, keeps the doctor away.” Well, it’s true! Especially when it comes to fresh whole foods from a quality source. Fresh apples that have been allowed to fully grow prior to picking, will offer the most optimal nutrients and vitamins compared to their “picked early and shipped” grocery store counterparts.
Apple cider vinegar offers many additional benefits because just like other fermented foods (sourdough, kombucha, sauerkraut, yogurt, kefir milk, kefir soda, kimchee, lacto-fermented veggies, etc) they take the foods we eat to a whole other level of bioavailability.
Which makes it easier for our bodies to absorb and utilize the essential vitamins, minerals, and nutrients they offer.
HOW TO MAKE HOMEMADE APPLE CIDER VINEGAR
SUPPLIES YOU’LL NEED
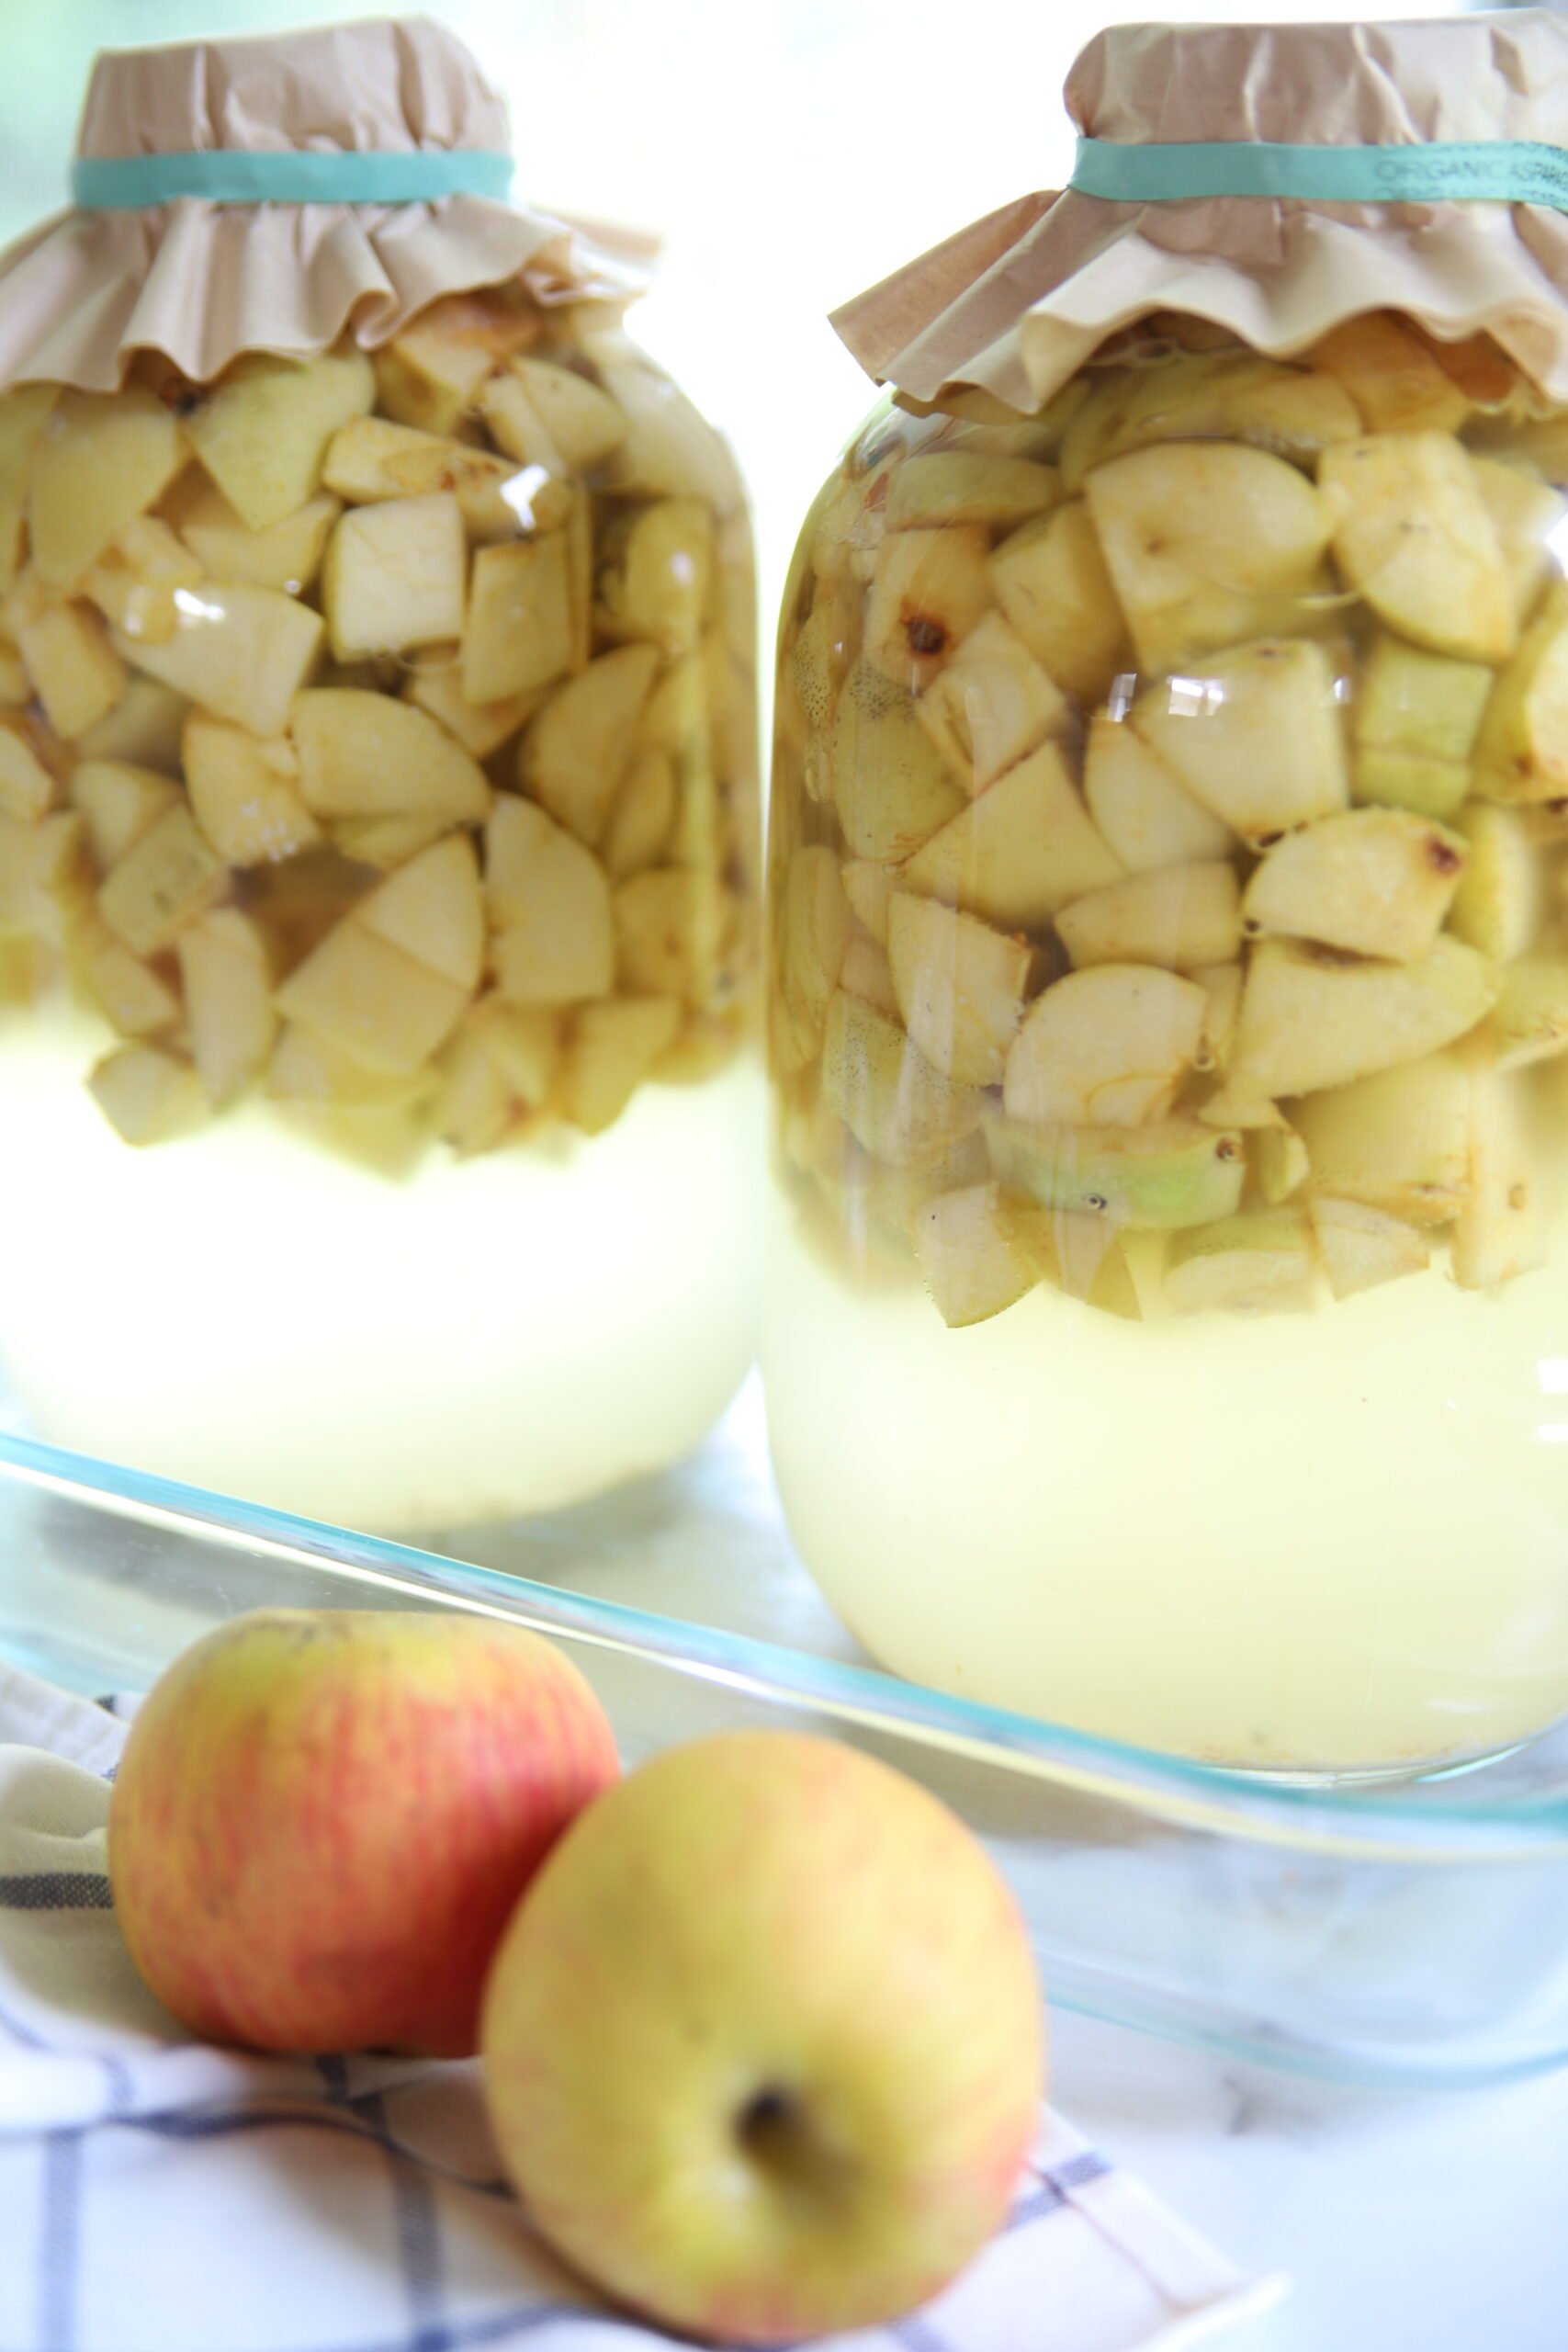
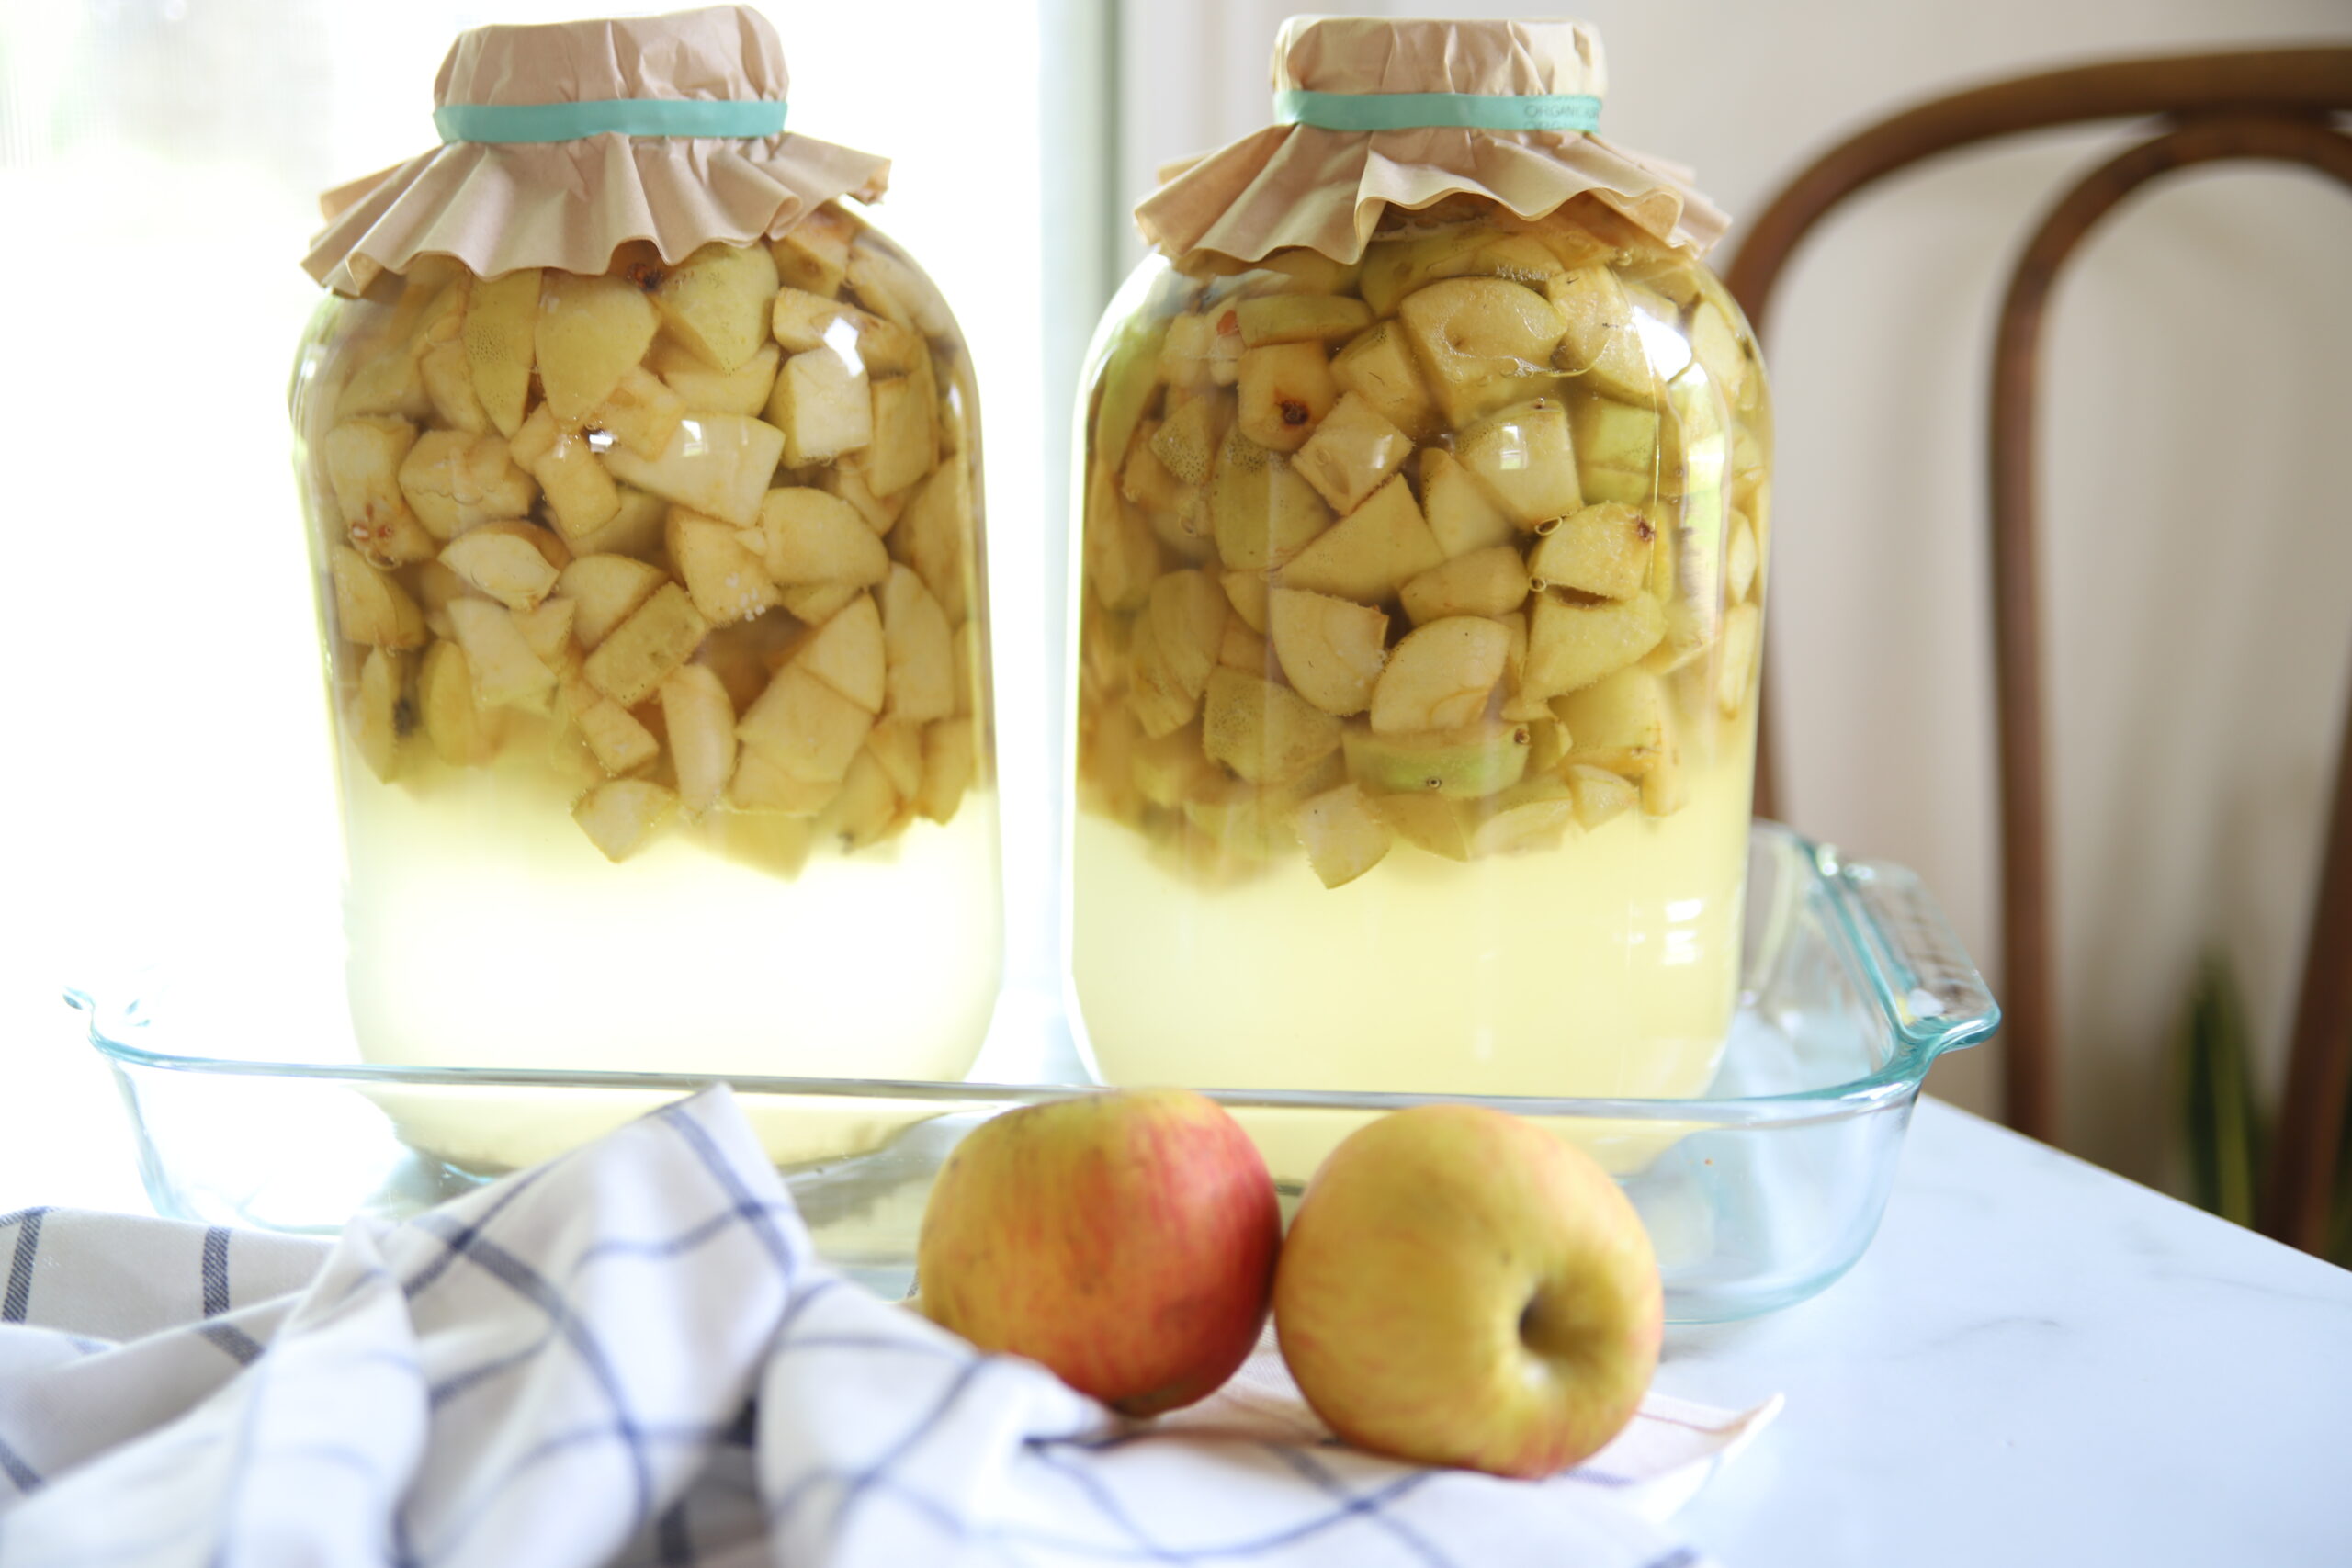
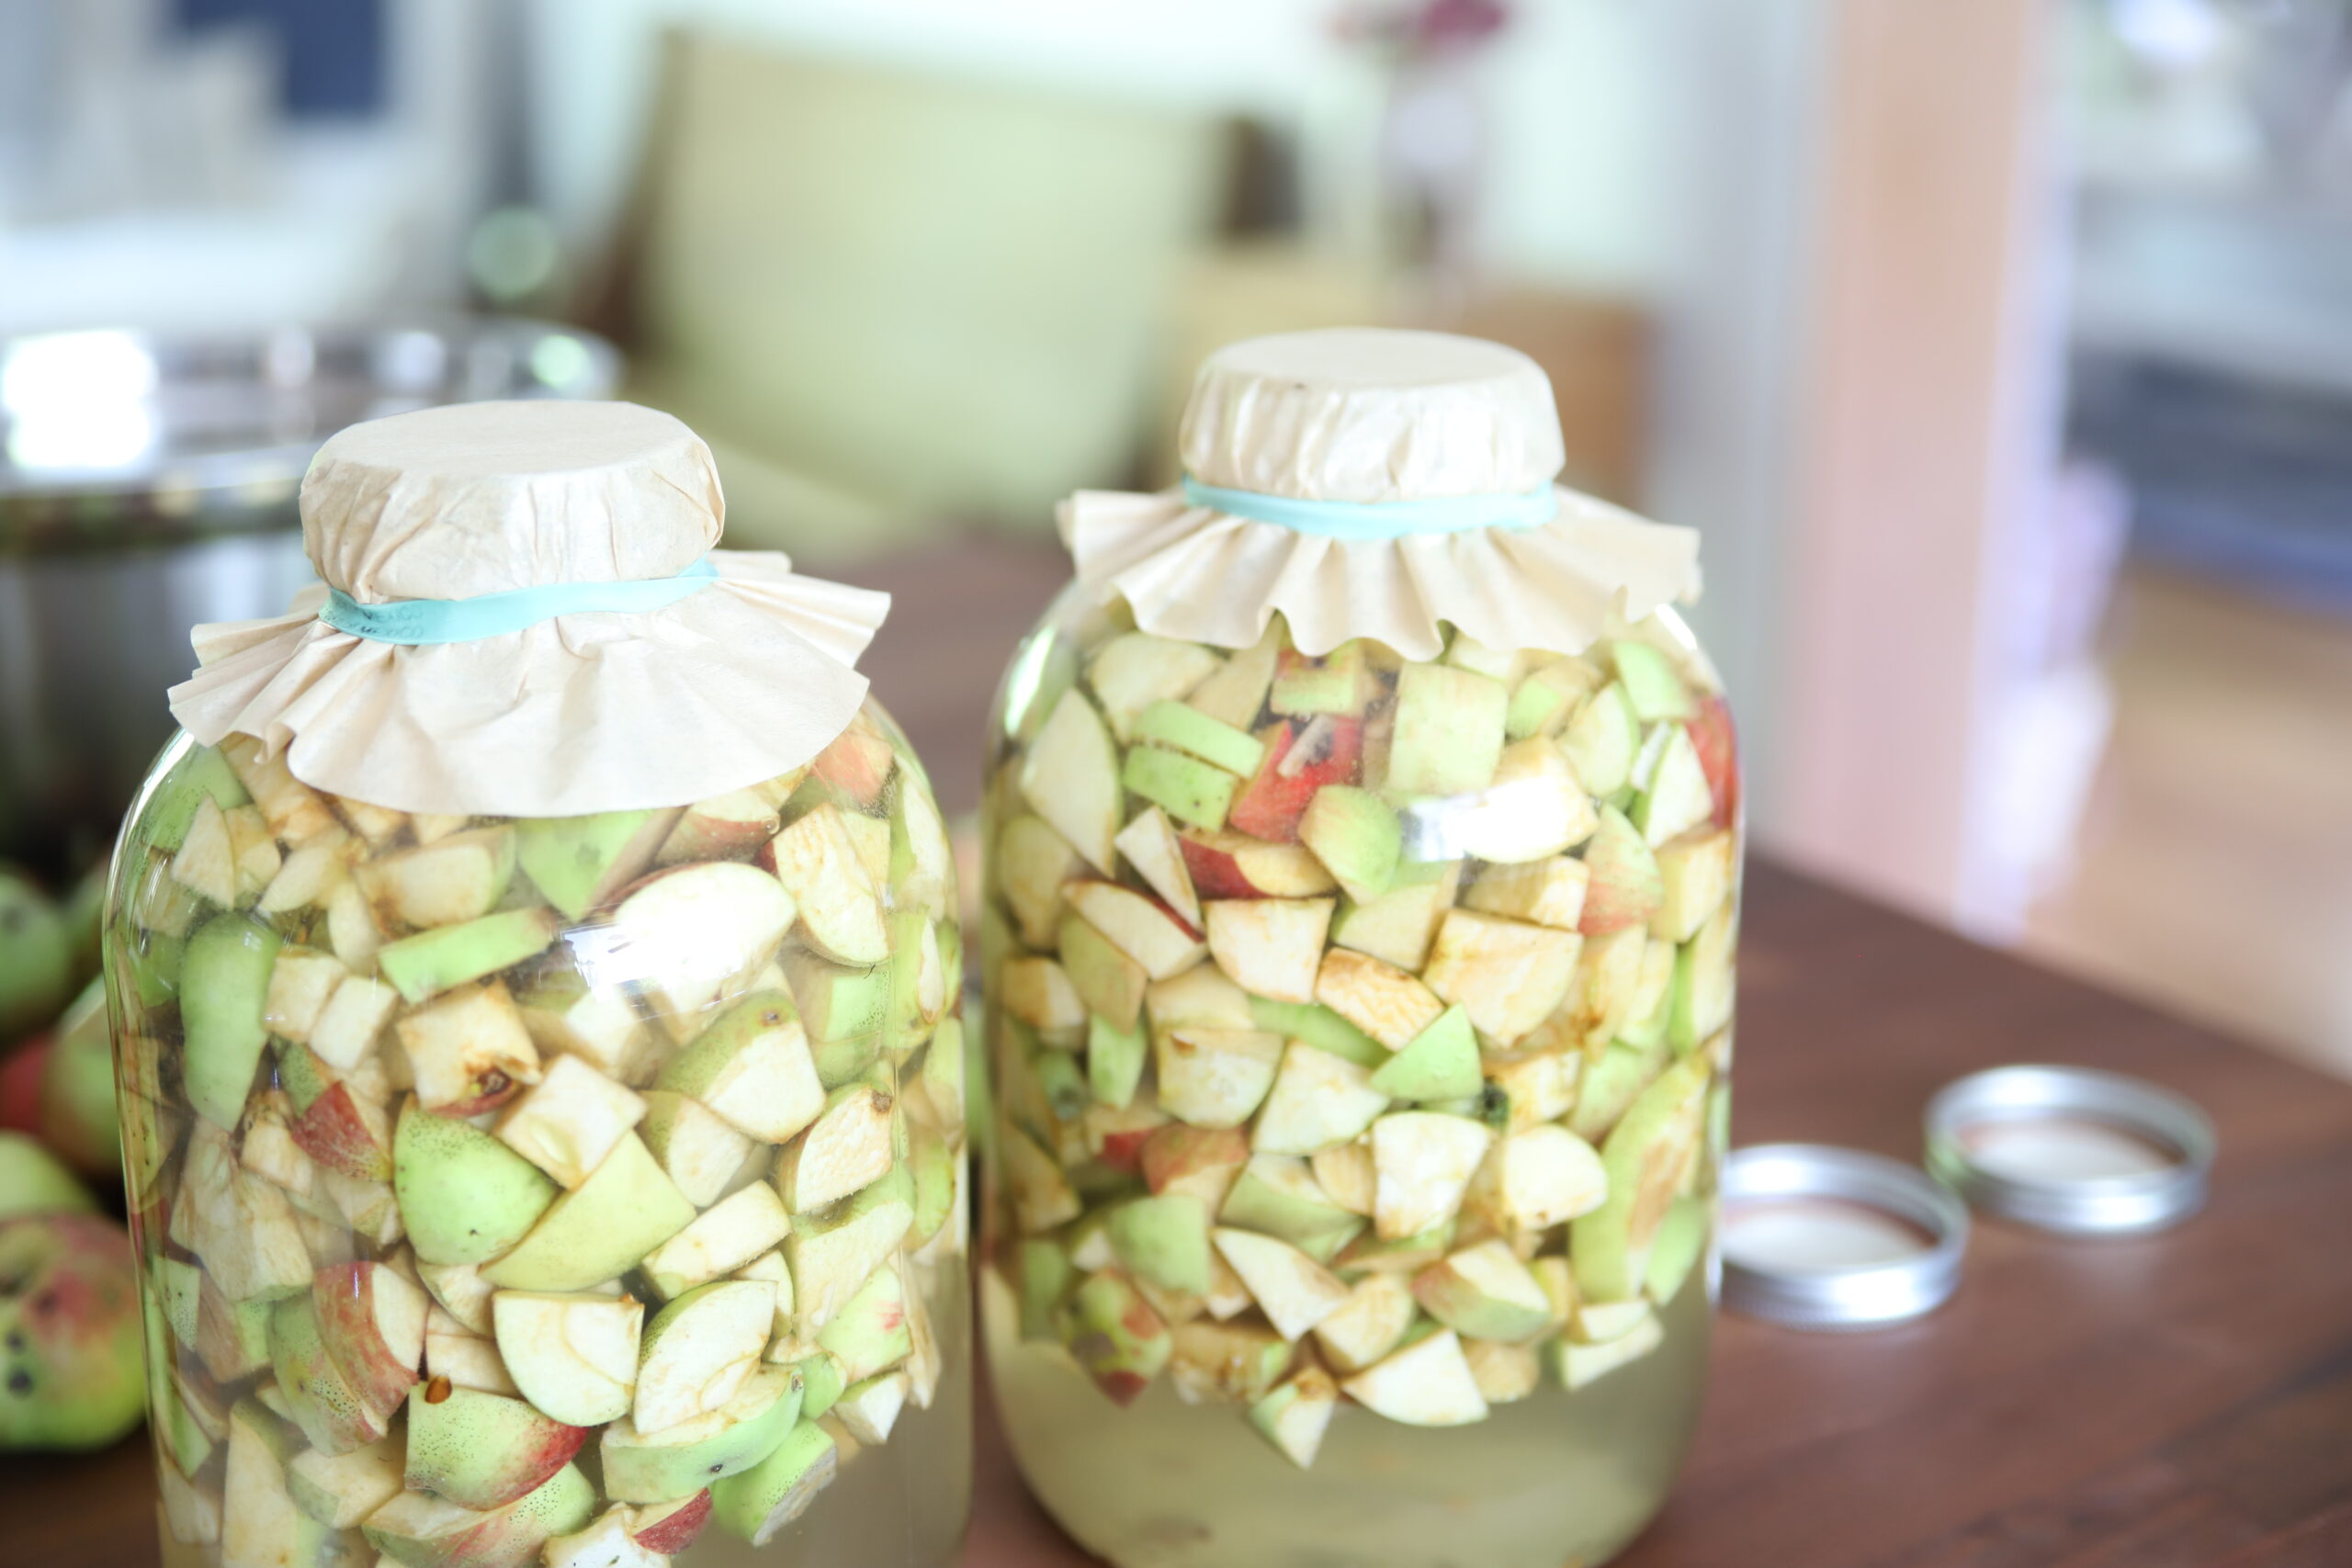
- Clean jar (wide mouth Mason Jars work the best, but as you can see these regular mouth vintage pickling jars hold more volume)
- Whole organic apples or organic apple scraps, cores, and peels (scraps or whole both do fine)
- Pure cane sugar (can also substitute honey, but the fermentation process will take longer)
- Non-chlorinated water (filtered water would be my first choice, but we had some issues with our water pump, so I just used our gravity fed spring water)
- Fermentation weight or clean small glass jar (since I was using a regular mouth jar, I was unable to fit our fermentation weights in the opening)
- Coffee filter, cheese cloth, or tea towel (to cover to prevent gnats and fruit flies from getting in)
- Rubberband (to secure the coffee filter or the other covering options mentioned above)
Homemade Apple Cider VinegarPrep Time: 10 minutesCook Time: 1 month 11 days 14 hoursTotal Time: 1 month 11 days 14 hours 10 minutes
Learn how to make this simple apple cider vinegar at home. It has so many different uses for cleaning, cooking, and supporting a healthy gut.
No Ratings
Ingredients
- Apples (peelings, scraps or whole)
- Non-chlorinated water
- Pure cane sugar (1T per one cup of water used)
- Apple cider vinegar with mother (from previous batch or store bought Bragg’s)
- Glass jar
Instructions
- Prep your work surface by cleaning and sanitizing.
- Wash your glass jar and utensils before using.
- Wash and rinse your apples (if using whole). If using scraps and peelings, no washing necessary.
- Fill your clean jars 3/4 full of chopped apples or apple scraps.
- Add sugar and fill the jar with water until the apples are completely submerged.
- Cover with a coffee filter, cheese cloth, or tea towel and place a rubber band around the neck to keep secure.
- Let mixture sit for 2 weeks in a dark and cool area of your kitchen or pantry.
- You can stir the mixture every few days, but it is not necessary.
- Around the 2 week point, strain the mixture from the scraps and pour the liquid into a separate clean glass jar.
- Discard your strained scraps or feed them to your chickens.
- Place a new coffee filter over jar opening and secure with rubberband.
- Allow your strained liquid to ferment an additional 2-4 weeks in a cool, dark spot.
- You will know when the fermentiing process is done when the smell is sour. At this point, you can give it a taste. If it is not strong enough, allow to sit and ferment a little longer.
- When your apple cider vinegar has that apple cider tanginess, simply place airtight lid on and store like you would store bought apple cider vinegar.
Notes
At around 2 weeks, if a brown or greyish foam begins to form, skim off with wooden spoon and continue to ferment.
USES FOR HOMEMADE APPLE CIDER VINEGAR
- Gut health support (good gut bacteria, especially with the mother present)
- Immune booster (when your gut health is strong and healthy, it directly and positively affects the immune system, they are connected)
- Blood sugar balancer (positive impact on lowering blood sugar levels)
- Natural skin toner (helps firm and tone)
- Hair rinse (gently cleanses and removes impurities)
- Natural deodorant (has anti-bacterial properties that help neutralize odor-causing bacteria)
- Dry scalp relief (effective against dandruff)
- Bug bite relief (helps alleviate the pain)
- Sunburn relief (helps sooth)
- Natural weed killer (the acidity helps to draw out the moisture and dry out the weeds)
- Added to homemade bone broth (helps draw out the minerals and nutrients from the bones, improving the health benefits it offers)
Disclaimer: The health and wellness posts shared here on GracefullyHome.com are not intended to diagnose, treat, prevent or cure any illness or disease. The information provided on this blog is for general educational purposes, has not been reviewed nor approved by the FDA and is not intended to take the place of advice from your medical professional, licensed dietician or nutritionist.
You are solely responsible for your health care and activity choices. Use of any of the recommendations or helpful tools and tips on the GracefullyHome.com blog does not constitute a client-coach relationship.